Even as a professional artist, one of my go-to activities when I need to unwind is a paint-by-number kit. I’ve written in the past about how I soothed my frazzled mind using paint-by-numbers after a medical scare a couple years back. Today I thought I’d dig in a bit further on what I’ve discovered after completing a half-dozen or so of these kits.
Most of my kits I’ve bought at our neighbourhood art supply store, Sunnyside Art Supplies. They always have a large and varied selection of quality adult-oriented kits in stock, however, I’ve been keen to find an online company I can recommend to support creative folks living outside of Calgary. The online ones I’ve gotten in the past have been a bit lacking so, after some research into the options, I decided to try one of the kits from Craftoria.
What’s in the Craftoria kit?
The online company has a wide selection of kits to choose from and I decided to try Harmony in Glass. This one appealed to me because it has all the same things I love to play with in my own work as a fine art painter such as intense colours and the interplay of light and shadow.
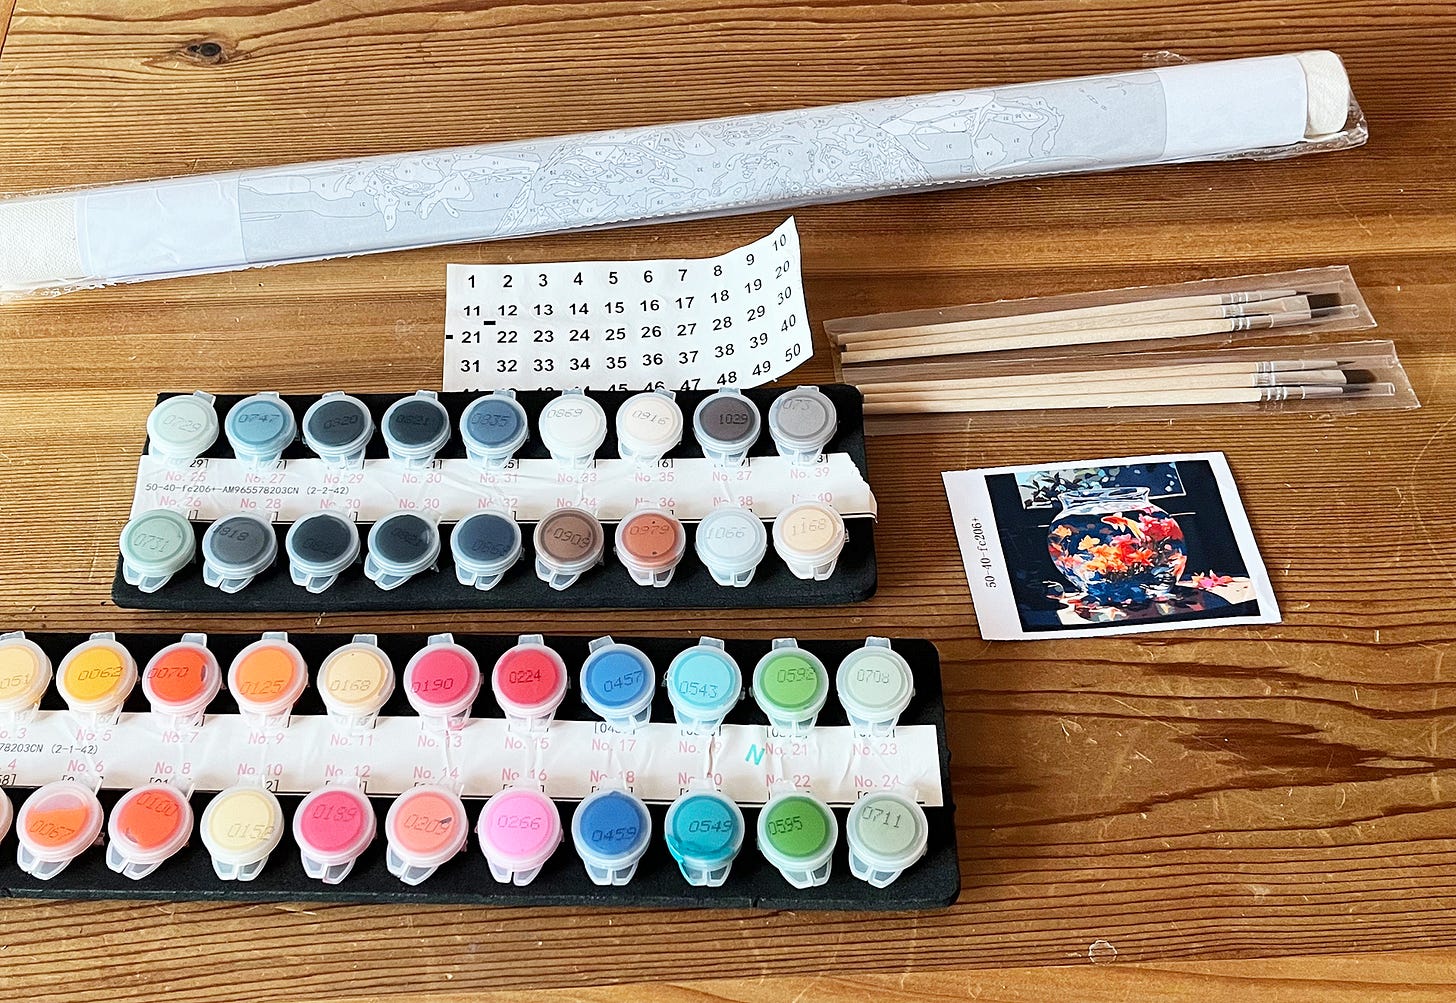
The kit comes in a bubble mailing package and contains:
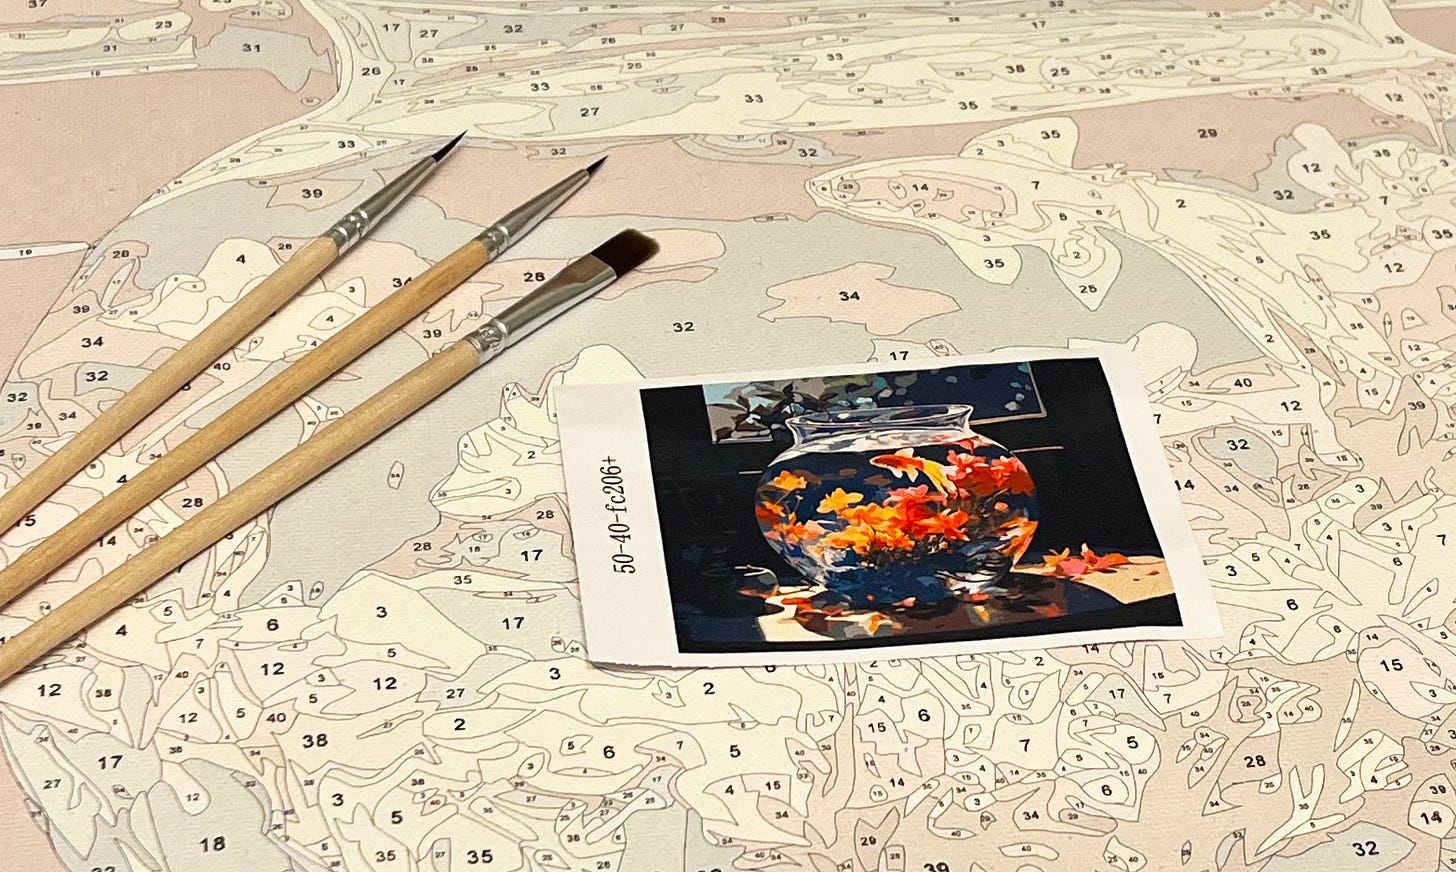
a 22.5" x 18.5" rolled sheet of canvas with a 20”x16” design printed on it
a paper copy of the same design for reference
a small full-colour image of the final painting for reference
two sets of brushes
42 paint pots with 40 different colours
a sheet of stickers for the paint pots
The number of colours is actually a bit confusing because Craftoria provides the option of different levels of detail when you purchase the design. I opted for the mid-level of detail, which supposedly includes 36 colours, but clearly, they’re adjusting the total number of colours to match the design. I would be very curious to hear from anyone who tries out one of the other detail levels.
The first thing you need to do is put the numbered sticker on the lid of the paint pot according to the provided guide. Be careful not to do this task mindlessly as I quickly discovered there were three pots of black and only one sticker for 30. Of course, if your numbers and your colours aren’t correctly matched you could end up with an unexpected result in your finished painting—which could also be an interesting experiment to be sure!
Damp, but not drippy
To begin you are going to need a container of water and a paper towel. Before dipping the brush in the paint, you’ll want to dip it in the water first. The bristles should be damp, but not so wet that you end up with a water droplet on the brush. The droplets may cling to the bristles or form higher up on the brush and sploosh down to the canvas at inopportune moments. If you notice excess water, simply wipe the brush on the paper towel.
You’ll also want to use the paper towel whenever changing colours to ensure you aren’t inadvertently mixing paint. When cleaning…
Swoosh the brush around in the water container to get rid of your last colour
Thoroughly wipe the brush on the paper towel
Dampen the brush in the water again and you’re good to go
Making the best use of your limited paint
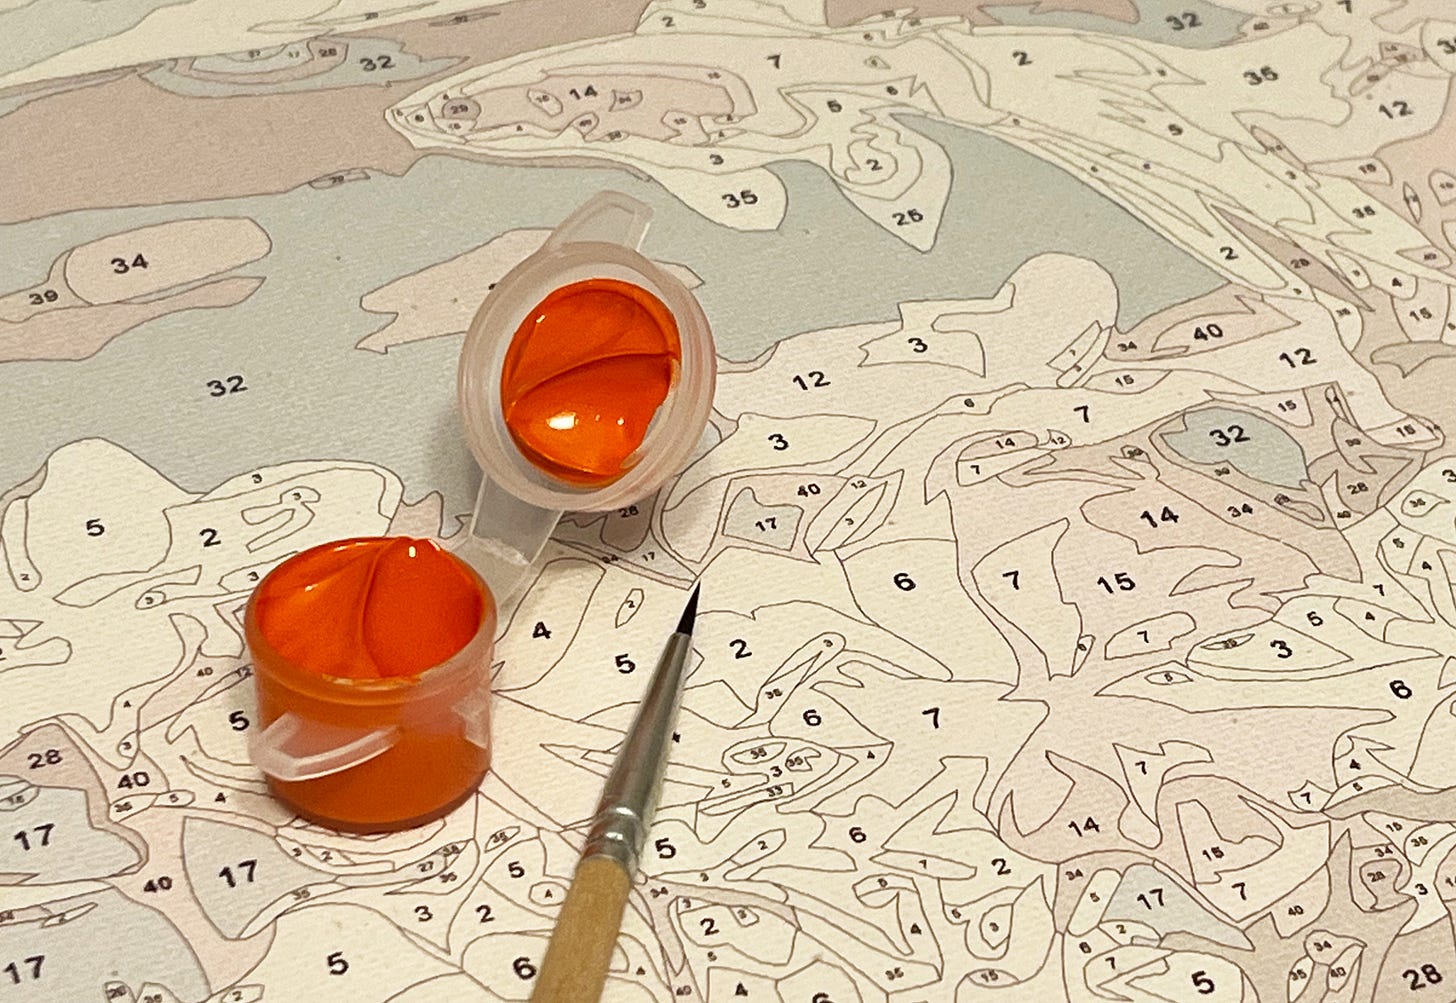
Paint-by-number kits are characterized by all those little paint pots. The kit provides a good deal of paint, however, it’s important to ensure the paint doesn’t dry out and that it’s used frugally.
To keep the paint from drying out only open whatever colour you’re currently using
Always start by using the paint from the inside of the lid before using the paint in the pot itself. This paint will dry out more quickly, so it’s best to use it all up while you can.
Ideally, the paint should have a ketchup-like consistency—thick, but not runny. If the paint feels too sticky coming off the brush, dampen the brush in the water before dipping into the paint again. If it still feels too sticky, use the brush to add a single drop of water at a time into the paint and mix it until the paint feels smoother.
In general, I found the Craftoria paint to have a good consistency and that ketchup-like quality out of the pot. I also really liked the black foam holder to keep the individual paint pots organized.
Different paint colours will naturally have different opacity
Wait, why is the number showing through? Did I do something wrong? Is this poor-quality paint? What’s happening here?!
Honestly, these are all natural questions—particularly if a paint-by-number kit is your first experience with painting.
There are two possible answers:
Too much water on the brush which is diluting the paint too much—see my previous advice about water droplets and ketchup-like consistency.
That particular colour of paint is naturally less opaque
I’ve noticed that this confuses a lot of new painters and it’s honestly something that even professional acrylic painters like myself have to deal with.
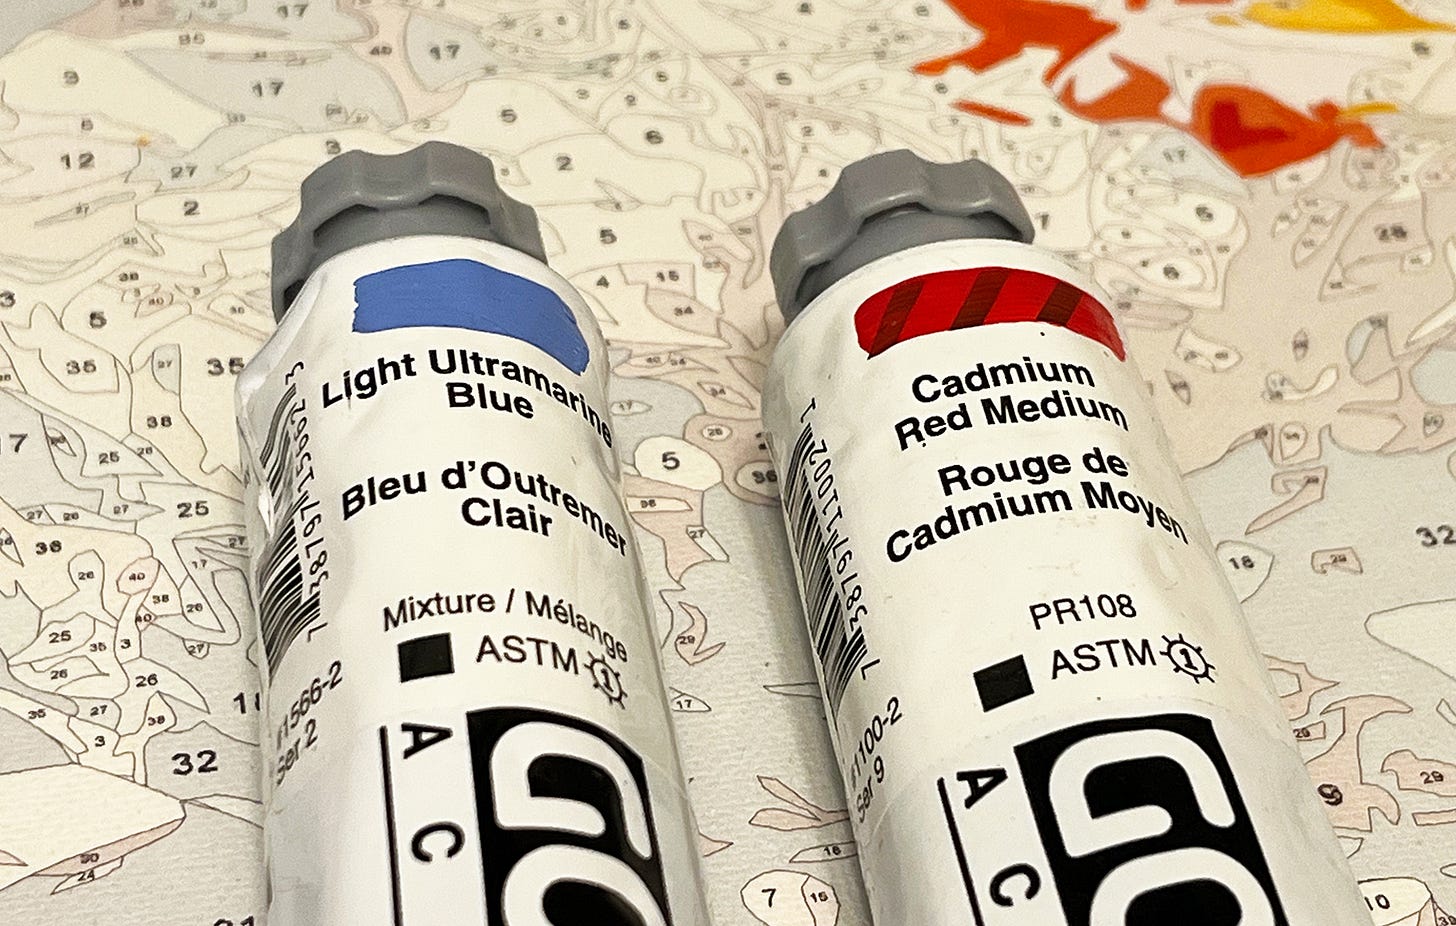
If you compare the paint transparency on these two tubes of high-quality Golden paint, you’ll notice that on the Cadmium Red tube, you can see the black hatching through the paint, whereas the Light Ultramarine Blue completely covers that hatching. That particular Cadmium Red also retails at over $30 a tube, so its translucency is definitely not tied to the paint quality. It’s simply that the materials that go into that brilliant colour aren’t as opaque, so what’s underneath tends to show through a single layer of paint.
If you encounter a colour in a paint-by-number kit that isn’t covering as well as you’d like, don’t sweat it. Let the paint dry and then paint on a second coat of the same colour over top.
Also, keep in mind that you will not be viewing the finished painting at the same close range as when you are working on it. Try taking a couple steps away from the canvas and looking again. More often than not you won’t be able to make out the numbers beneath the paint at all.
Avoiding wet paint and smudging
The more obsessive folks among us might enjoy the challenge of trying to find and paint every single instance of a paint colour on the entire canvas. I am not a fan of this approach because I think there’s a greater risk of smudging a random spot of still-drying paint while you’re working.
My preferred method is to start at roughly the centre of the canvas and work outwards in small sections.
To avoid smudging while you paint, right-handed folks will want to work to the right and down and left-handers to the left and down.
Don’t be afraid to rotate the canvas while you work, particularly if it will make painting an area easier.
Initially paint splotches in that area that aren’t touching each other. This will again prevent smudging still wet paint and provide the chance to clean up edges later when you paint the colour beside it if you so choose.
Acrylic paint dries fairly quickly so it won’t be long before you can fill in the in-between areas for the section you’re working on. If you aren’t certain if a splotch is dry yet, touch it lightly with the back of your knuckle. If it still feels a little sticky, just give it another couple minutes.
Painting those teeny tiny splotches
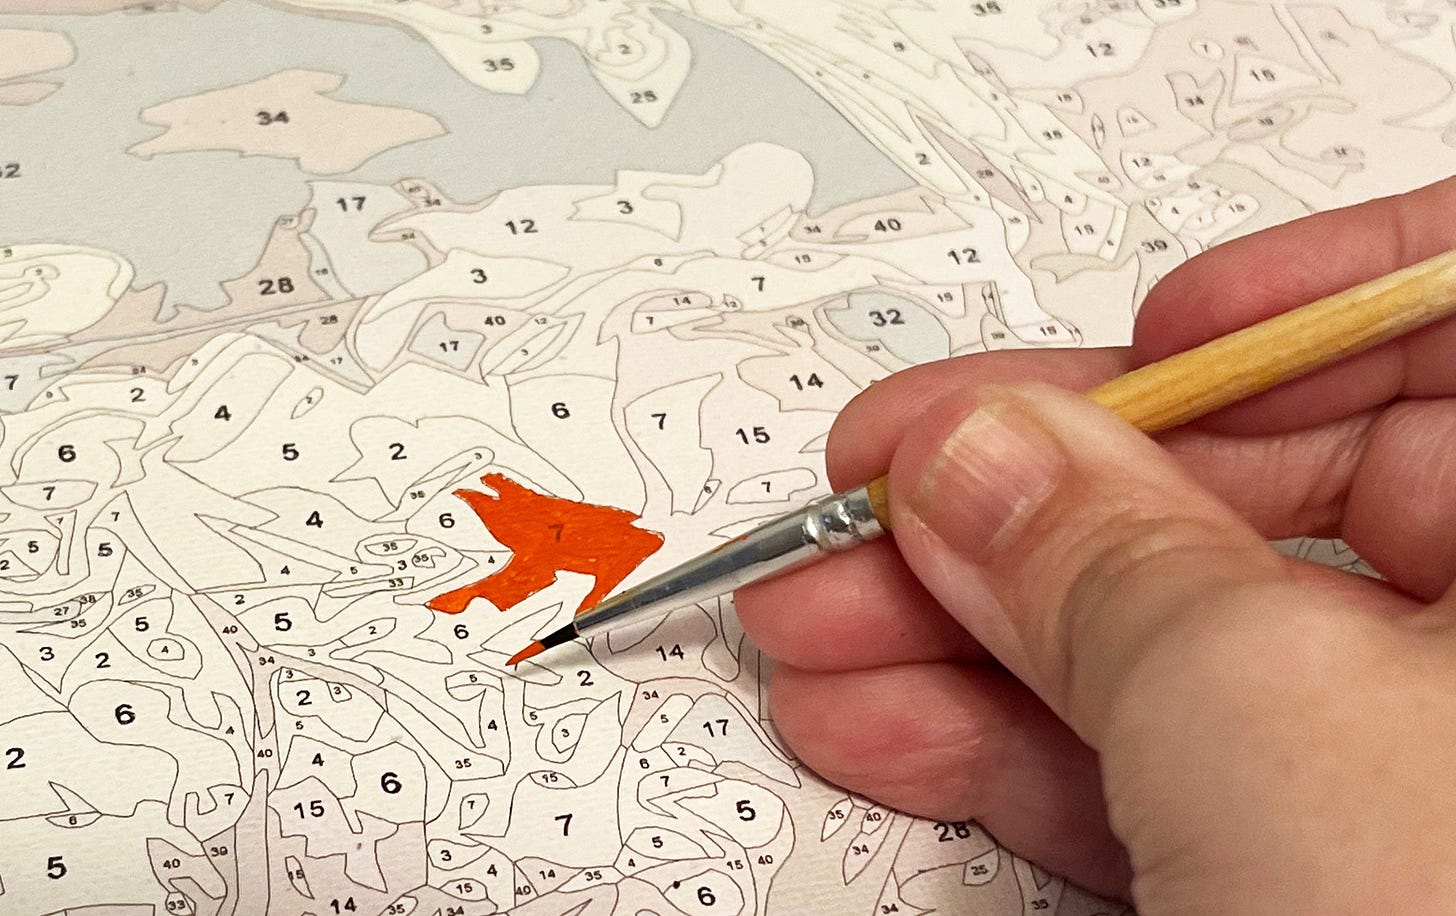
The paint-by-number kits typically come with two kinds of brushes—two sizes of rounds (the proper name for the small pointy brushes) and a flat brush (the rectangular-shaped one). The flat brush is good for painting in large areas, but for the most part, you’ll be using the rounds to paint in those teeny delicate splotches.
And some of them are really teeny.
Brush handling is a legitimate and useful skill that you can develop from doing paint-by-number kits. For these tricky small areas, I recommend starting in the centre of the splotch and then painting progressively closer to the edge. Think of pushing the paint towards the edge rather than trying to trace the edge itself. It’ll help you learn how the paint behaves on the brush and improve your confidence as you go.
It’s also not the end of the world if you paint outside the lines—just saying.
When in doubt, take a couple of steps back from the canvas and all those seemingly big “mistakes” will disappear.
Final thoughts
And above all… have fun!
My intention in providing these tips is to not increase your level of anxiety when working on your paint-by-number but to hopefully help you anticipate some of the little bumps in the road that you may encounter during your journey.
So settle in, put on some of your favourite music and create a blissfully mindful moment through the act of painting.
Athena Cooper splits her time between being a fine art painter and a creativity coach with Tilted Windmills. If you’d like to support developing your creative practice, consider booking a free 30-minute consultation.




Good tip on painting in sections. When you were talking about taking care with the limited amount of paint I immediately thought the solution would be to paint all the x or y colour sections person could find. But, point well taken on the potential for smudging!